Wednesday, September 28, 2011

More Muffins- Blueberry


I've been making muffins.....my mom has been making muffins.......hmmm it must be muffin season or something!  Well, it is back to school season here and it is a nice little lunch snack to have ready.......or to have with a cup of your favourite hot drink.  This is the third batch of muffins that my mom has made from this recipe in the last two weeks.  If you have some fresh or frozen blueberries lying around....you might want to give these a try!
Blueberry Muffins
1/3 cup white sugar
1/4 cup butter, softened
1 cup + 2 heaping tbsp sour cream
2 tbsp lemon juice
2 tbsp yoghurt or milk kefir
1 tsp lemon zest
1 egg
1 1/2 cup flour
1 tsp baking soda
1 cup blueberries
Preheat oven to 425F.
Cream butter and sugar until creamy.  Add sour cream, yoghurt, lemon juice, zest and egg.  Beat well.  In a separate bowl, combine flour, baking soda and berries.  Add dry ingredients to wet gently mixing in by hand in 3-4 increments.  Mix only to combine and take care not to over mix.  Batter will be lumpy.  Spoon into 12 lined muffin cups and sprinkle tops with turbinado sugar.  Bake for 8 minutes at 425F, then reduce heat to 350F and bake a further 10-12 minutes.  Bake  until tops spring back when lightly touched.

Sunday, September 25, 2011

Repurposed Sweater Project #2- Felted Kitty for Kitty

As eluded to on an earlier post......here is the second small project from my sad shrunken sweater. 
Our cat 'Ginger' has this cute, yet annoying habit of stealing pairs of socks from the laundry and from unguarded cupboards.  Often you could hear her muffled meows as she called for her kittens with one such 'sock kitten' already being carried in her mouth.   She would line them up in a row somewhere safe and get ready to feed them.  I thought maybe she would prefer her own dedicated kitten to some of my sock pairs.......we shall see......I suppose.
I find Ginger likes her soft toys a little squidgy so I don't stuff them very firmly at all.  You could easily increase the size of the pattern to make a nice pillow for yourself as well:)  Go here for the PDF pattern and make yourself a litter.

Friday, September 23, 2011

Zucchini Chocolate Cake

A few weekends ago, my trip to the farmer's market which had my family crazy for Bannock.......prompted me to buy a huge zucchini.  There are lots of things I like to make with zucchini, and I had not made a zucchini chocolate cake in a few years.  So I grated up my jumbo zucchini and froze it in 2 cup amounts....ready to make Zucchini Chocolate Cake or a delicious Zucchini Loaf......It is difficult to choose which one I like the best.  I might just have to make the Zucchini Loaf again to see if I can decide:)  What do you like to make with Zucchini???  A large zucchini such as this one is better suited to baking with rather than grilling or making fritters which is what I would do with smaller, more tender zucchini.
Chocolate Zucchini Cake
2 1/2 cups flour
1/2 cup cocoa powder
2 1/2 tsp baking powder
1 1/2 tsp baking soda
1 tsp cinnamon
1 tsp salt
1 cup chopped nuts (optional)
3/4 cup butter, softened
1 cup sugar
3 eggs
3 tsp vanilla
2 cup grated zucchini, grated on the small holes
1/2 cup milk
1/4 cup chocolate chips


Preheat oven to 350F and grease a bunt ring pan.  Combine and sift dry ingredients together and set aside.  Cream together the butter and sugar.  Beat in eggs one at a time, then beat in vanilla and zucchini. Mix in 1/3 dry ingredients, then 1/2 milk alternately ending with the addition of the last of the dry ingredients.  Stir in chocolate chips and nuts if desired.  Pour batter into pan and bake until cake tester comes out clean....about 50 minutes.  Sprinkle with a bit of icing sugar and enjoy.

Sunday, September 18, 2011

Repurposed Sweater Project #1- Felted Fish for Kitty

I have a little collection of wool sweaters which I gathered through thrift store shopping over the past year or so.  I've got a number of small projects in my head that will use up my sweater stash and this was my first easy and quick little project to get it started.  Since I had the sewing machine out to work on my fitted sheet for the 3/4 bed....I thought I'd better also tackle this small project as well.  It took only 20 minutes to complete.  I did not even take the time to make a pattern piece for this.....I just started cutting out the shape of a fish with a folded piece of sweater fabric.  The fold is at the tail end.  
Then I stitched around the shape, (wrong sides together) leaving a 1 1/2 inch opening to turn it.  I chose to make it wrong sides together so that the purl side of the knit would be on the outside when finished.  After turning the fishy purl side out........I filled a little scrap of fabric (from my sheet project) with cat nip and stuffed it inside the little fishy.  
I then made two french knots with 6 strands of embroidery thread for eyes and secured the thread inside onto the catnip bag.  I then closed the opening and secured the thread.  All ready for kitty....

Friday, September 16, 2011

Chocolate Banana Muffins

After we polished off a batch of refrigerator muffins.....I was looking for a new muffin recipe to try.  I had the Nigella Lawson cookbook 'Kitchen' out on loan from the library and was interested by her recipe for Chocolate Banana Muffins.  I gave it a go and was fairly pleased with the result.  It's just a little more interesting than banana bread......maybe......anyway.....you really can't go wrong with chocolate, now can you.  
Chocolate Banana Muffins
makes 12
3 ripe bananas
1/2 cup vegetable oil
2 eggs
1/2 cup light brown sugar (packed)
1 1/2 cups flour
3 Tbsp cocoa powder
1 tsp baking soda

Preheat oven to 400F and line a muffin pan with paper liners.  Mash bananas and mix in oil, sugar, and eggs.  Sift the flour, cocoa powder and baking soda into a small bowl.  Gently mix the dry ingredients into the wet until combined.  Spoon into 12 prepared muffin cups.  Bake in preheated oven for 15-20 minutes until tops spring back when lightly touched.  Cool slightly and move to wire rack to finish cooling.

Tuesday, September 13, 2011

Adventures in Making 3/4 Fitted Sheets

That little 3/4 brass bed that we set up in the spare room in our basement has been somewhat 'problemsome'.  Having no 3/4 sheet sets for it (which you can purchase from the Sears Catalogue or from other sources online), not enough time to order some, and lacking the interest to spend over $90 on a set.......left me in a bit of a pinch.  But, in that pinch I decided to use an extra set of sheets I had for the double bed upstairs in our other spare room.  Since the length of the bed is the same, I figured that I would just tuck in all the extra fitted sheet on the back side of the bed so no one would see.  This worked fine for the few nights that company used the room.  But.......I really would like to have a properly fitted set of sheets for the bed now wouldn't I???  And alas, I am much too cheap to pay the required $90+.......So I decided to retrofit the extra double size set that I had on the bed.  Easy right?  Just need to open up the corners at the top and bottom of one side and resew them a bit narrower to fit the 48 inch width of the mattress.  Unfortunately for me with all the gathering from the elastic in the fitted sheet........it was very difficult to see what was going on.  So in the end I decided to cut away the elastic, cut out the corner seams and start with a flat and more manageable piece of fabric.  The sheet was much more cooperative in this form. 
I knew exactly how I wanted to shape the corners and felt reassured by the thorough instructions at this site that I was on the right track.  Well I was a little surprised when I folded the sheet in neat quarters and prepared to trim it to size and cut out my nice square corners....only to find that I could not.  The manufacturer had made a similar corner cut, but not at all in the same orientation as I had expected.  After a bit of thought, I measured out from both folded edges to locate the intersection of the width and height of the mattress.  This point would mark the corners on the top of the fitted sheet.  I decided I would still cut out my squares of fabric, but I positioned the corner of my quilting square just outside of the intersection I had marked the corner and tilted the square to more match the angle of the manufacturers cuts.  
The angle of placement of the square to be removed only affected the direction that the corner seam would take.  So instead of the seam running vertically from the top corner of the mattress to the bottom, it starts at the top corner of the mattress and runs down at an angle.  The more you tilt the square, the sharper the angle will be.  Mine was only slightly angled towards the foot of the bed.
The formulas for measurement and directions from the link above are very useful, and I will not bother restating them here.  
Additionally I would add:
  • Measure your mattress for length and width very accurately and do not add any ease to the measurement as it will be better for the corner points to be a bit inside the top of the mattress than sliding down the side because the measurement was too big.  Mine were a little low but I'm not about to change it now.
  • Using a flat sheet to start with will eliminate the potential to have to deal with the angle of the corner cut although if you do need to angle it the important thing to note is the location of the where the points of the corners will be on the top surface of the mattress.
  • Once you have cut out your shape, it is the easiest to serge or zigzag all edges before sewing your corners closed.  It will be less bulky, the edges will be protected, and no one will see them as they will be under the mattress.
  • Your least expensive option will likely be finding a nice double (full) sheet set to work with.  Buying separates is usually more expensive.
  • I used 22 inch lengths of thin elastic for each corner. 
  • Cats are counter productive when it come to making the bed.
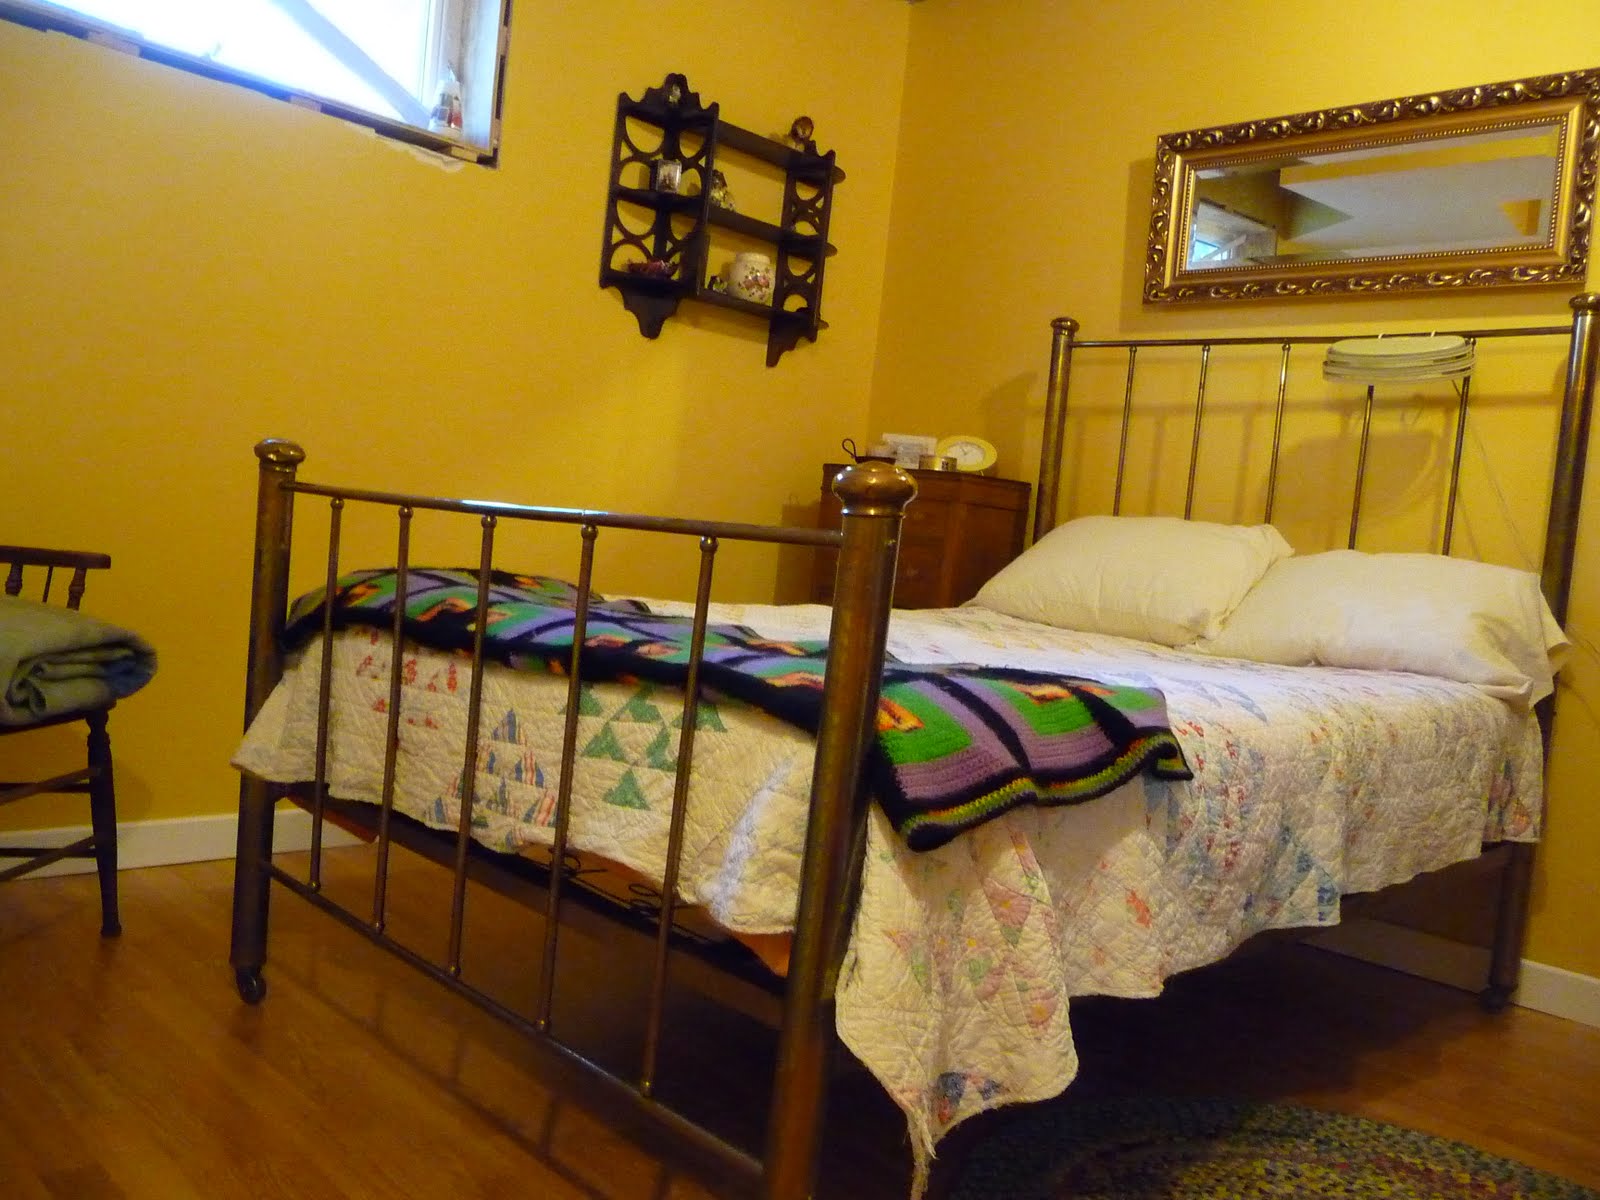
I have a wool blanket wrapped around the mattress as a mattress protector since the mattress is original and it kind of creeps me out.

Saturday, September 10, 2011

Brass Beds and Bannock

Just in case you didn't know it.....we've had a pretty lackluster summer here. Below seasonal temperatures and lots of rain through the bulk of the summer.  The last two weeks of August did provide a few excellent days of summer weather, but for the most part summer was a bust here.  Now we are hoping for a lovely fall which can be a gorgeous season here.......and based on the last few days.....it's looking pretty good:)
We are back to school after a very busy few weeks of travel and having house guests.  Three house guests in three weeks has to be some kind of record for us!  When we moved to Prince George and eventually bought a house......we were told that a spare room was unnecessary as no one ever comes here to visit.  For our last visitors we even needed to finish up a bit of work on our other spare room in the basement to accommodate our guests.  It was lots of fun filling the room with the odds and ends of furniture we had tucked away. All pieces with sentimental value and good memories attached to them.  It's coming along now and perhaps we will feel more inclined to finish up the window trim, plug ins and ceiling, now that it has had it's first use.
The old brass  3/4 bed that DH grew up sleeping on came from his grandmother's house.  The brass head and foot boards and exposed box spring are very interesting.  Laying on it is rather more like floating as it is quite wiggly.  I like it!  The pretty triangles quilt and crocheted log cabin throw are from his paternal and maternal grandmothers respectively.  Some day I will dig into my mountain of vintage sheets and make a copy of this quilt.  I think the muted tones of some of them might duplicate the aged look better than new fabrics.  And then on the other side of the room is a little something from my grandmother's farm.....her dresser.  All good and interesting things with stories to tell......if only they could talk.
In order to entertain my MIL and SIL, we took them to the farmers market on the Saturday morning and had the most delicious Bannock melt there.  Ike was so enjoying his that we decided to make some at home.  Home made bannock is very easy and pretty quick to make and this savory version can be pretty addictive.  In Canada, the flour version of bannock is believed to have been introduced to the Canadian native population by European fur traders.  Now bannock is synonymous with Canadian native culture.  It can be baked (if you are a purist) or fried, and I would encourage you to try the fried version only because it is ten times more delicious than the baked variety and perhaps a few times less healthy. A trip to a local pow wow might present the opportunity to try bannock burgers, bannock tacos, bannock with jams or honey.  There are many possibilities!  All delicious.  This recipe has worked well for us.....although there are many out there to try.
Bannock
3 cups flour
1 tsp salt
3 tsp baking powder
3 Tbsp sugar
4 Tbsp powdered milk
2 Tbsp melted butter
about 1 1/2 cups water

Mix all dry ingredients well in a large bowl.  Make a well in the center of the flour mixture and add the melted butter and most of the water.  Gently mix the flour into the center working in all the flour to a firm dough. Use additional water if necessary.  Pat the dough into a flat disc about 2 inches thick.  Cover with plastic wrap and set aside to rest for 20 minutes.  Heat 2-3 inches in depth of oil to 330F.  I use an electric wok to minimize the amount of oil needed and can only cook one at a time.  An electric fry pan also works well but will require more oil to get a good depth of oil.   When you are ready, cut the dough into 8 equal pieces.  Take one piece with oiled hands and shape it into a flat circle about 5-6 inches across.  It should be fairly thin especially in the center as it will puff up a lot as it fries.  Gently place one bannock into the oil and fry gently for 2 minutes per side.  Bannock should be a nice golden colour when done.  You can serve with cinnamon and sugar, with butter and jam or any way you can think of.
The Bannock melt we made was split in half, filled with a thick slice of jalapeno havarti and a very liberal sprinkling of Garlic Plus seasoning.  We kept the dough wrapped in plastic wrap for 3 days while we made a few each day.  They are best eaten while still hot.

Saturday, September 3, 2011

Slice and Bake Oatmeal Cookies

Some time ago now, I purchased Maida Heatter's Book of Great Cookies for next to nothing at a thrift shop.  I have been wanting to try a few recipes from it for the longest time......but there are no pictures in the book to aid me in making my choice.  Finally I decided to go just pick one and opted to go with convenience and try the Oatmeal Icebox recipe since it will be a busy weekend, and I love the concept of the nice uniform size and shape and quite honesty the ease of having a roll of dough in the fridge that I can easily slice off some fresh baked cookies with little effort.  Less time cooking....more time visiting.  They turned out to be crisp on the outside and a bit chewy on the inside since I only baked them for about 10 minutes just until the cookies were nicely browned.  The instructions called for a 12 to 14 minute bake time.  Maybe I'll try the last roll of dough at the longer bake time and see if I like the difference.  Maybe they will be even better??  I pressed my dough into a wax paper lined loaf pan and once chilled cut the loaf into three long rows.  To bake I sliced 1/4 inch slices and placed them on a foil lined cookie sheet and cooled the cookies on the sheet after baking.  Before baking the slices were 2 inches by 2 inches.
Oatmeal Icebox Cookies
1 1/2 cups sifted flour
1/2 tsp salt
1 tsp baking soda
1 tsp ginger
1/2 pound  butter
1 tsp vanilla
1 cup sugar
1 cup dark brown sugar
2 eggs
3 cups rolled oats (not instant)
1 cup chopped walnuts (optional)

Sift the flour, salt, baking soda and ginger and set aside.  In a large bowl, cream the butter, both sugars, and the vanilla and beat well. Add eggs one at a time, beating after each addition.  Gradually add in the sifted ingredients.  Stir in nuts if using.  Shape dough into logs or as desired and refrigerate over night or until firm enough to slice cleanly with a sharp knife. 
When ready to bake, preheat oven to 350F.  Slice dough into 1/4 inch thick slices and lay them with 2 inches between each cookie on foil lined cookie sheets. Bake 10 minutes until browned and remove from oven to cool.  Once cool store in tightly sealed container.